
The Next Step:
A Deep Dive into Attributes & Your Coding Toolbox

Woman working in a code editor. Image by DC Studio
Hello again!
It’s Elysa. ‘The Vanilla Developer.’ In our last post, we learned how to build the basic skeleton of a webpage. Today we are going to take a huge leap forward. We’re going to get you set up with the tools you need to start coding, and then we’ll dive deep into one of HTML’s most powerful features: attributes.
By the end of this post, you’ll have a place to write your own code and the knowledge to make it come alive with links and images.
Part 1: Your First Coding Toolbox (The "‘Where”)
Before we write another line of code, let’s answer the most important question: Where do you actually write it?
While you could use a basic program like Notepad, developers use a special tool called a code editor. Think of it as a word processor, but instead of checking your grammar, it it designed specifically to help you write code.It does this with features like syntax highlighting meaning coloring your code to make it easier to read. Thsi allows you to spot typos and understand the structure. It’s our digital workshop!
Your First Coding Workshop: Two Great Options
You have many choices, but in my opinion here are two of the best, completely free options to get you started.
The ‘Try It Now’ Playground: CodePen
CodePen is a website where you can write HTML, CSS, and Javascript directly into you browser and see the results instantly. You do not have to install anything! It’s the perfect place to experiment and play with the code snippets form these posts.
The Professional Tool: Visual Studio Code (VS Code)
When you’re ready to build real website files on your computer, this is the tool you want. Visual Studio Code (VS Code) is one of the world’s most popular code editors, used by millions of developers.
My Advice: For today’s lesson, I recommend opening CodePen in a new tab right now! That way you can code along with me and see your work come to life in real time.
Part 2: Giving Your HTML Superpowers with Attributes
Okay, now that you have your code editor open and ready let’s talk about our main topic.
Remember our LEGO blocks? Remember that it’s the color, size, or special connector pieces that allow them to do unique things. They are the secret to giving our HTML tags superpowers. An attribute is always places inside the opening tag and is written as name=”value”.
Let’s look at a couple of key examples.
Giving Our Links New Powers
We've seen the anchor tag, <a>, which creates links. The href attribute gives it its destination. But what if you want that link to open in a new tab? There's an attribute for that! It's called target.
<a href=’https://www.eranovadesign.com’ target=’_blank>Visit my portfolio in a new tab!</>
Think of target=’blank’ as an instruction that tells our magic tele-porter to open a brand new portal instead of changing the one we're in.
The Best Example: The Image Tag <img>
The image tag, <img>, is the perfect showcase for attributes because it’s useless without them! An <img> tag is self-closing (it doesn't need a closing tag) and requires attributes to function.
src(source): This answers, “WHICH image should I show?”alt(alternative text): This answers, “What if the image is broken or someone can't see it?” This description is vital for accessibility.width: This answers, “How wide should the image be?”
Quick Tip! Notice that the values in our attributes, like ‘https://www.eranovadesign.com’, are always wrapped in quotation marks. This is a crucial rule in HTML. Forgetting them is one of the most common mistakes beginners make!
Let’s Build Together!
Ready to try it out in your new code editor? Let's take the full skeleton we built in the last post and add a paragraph, a link, and an image with all its attributes. Go ahead and type this into CodePen!
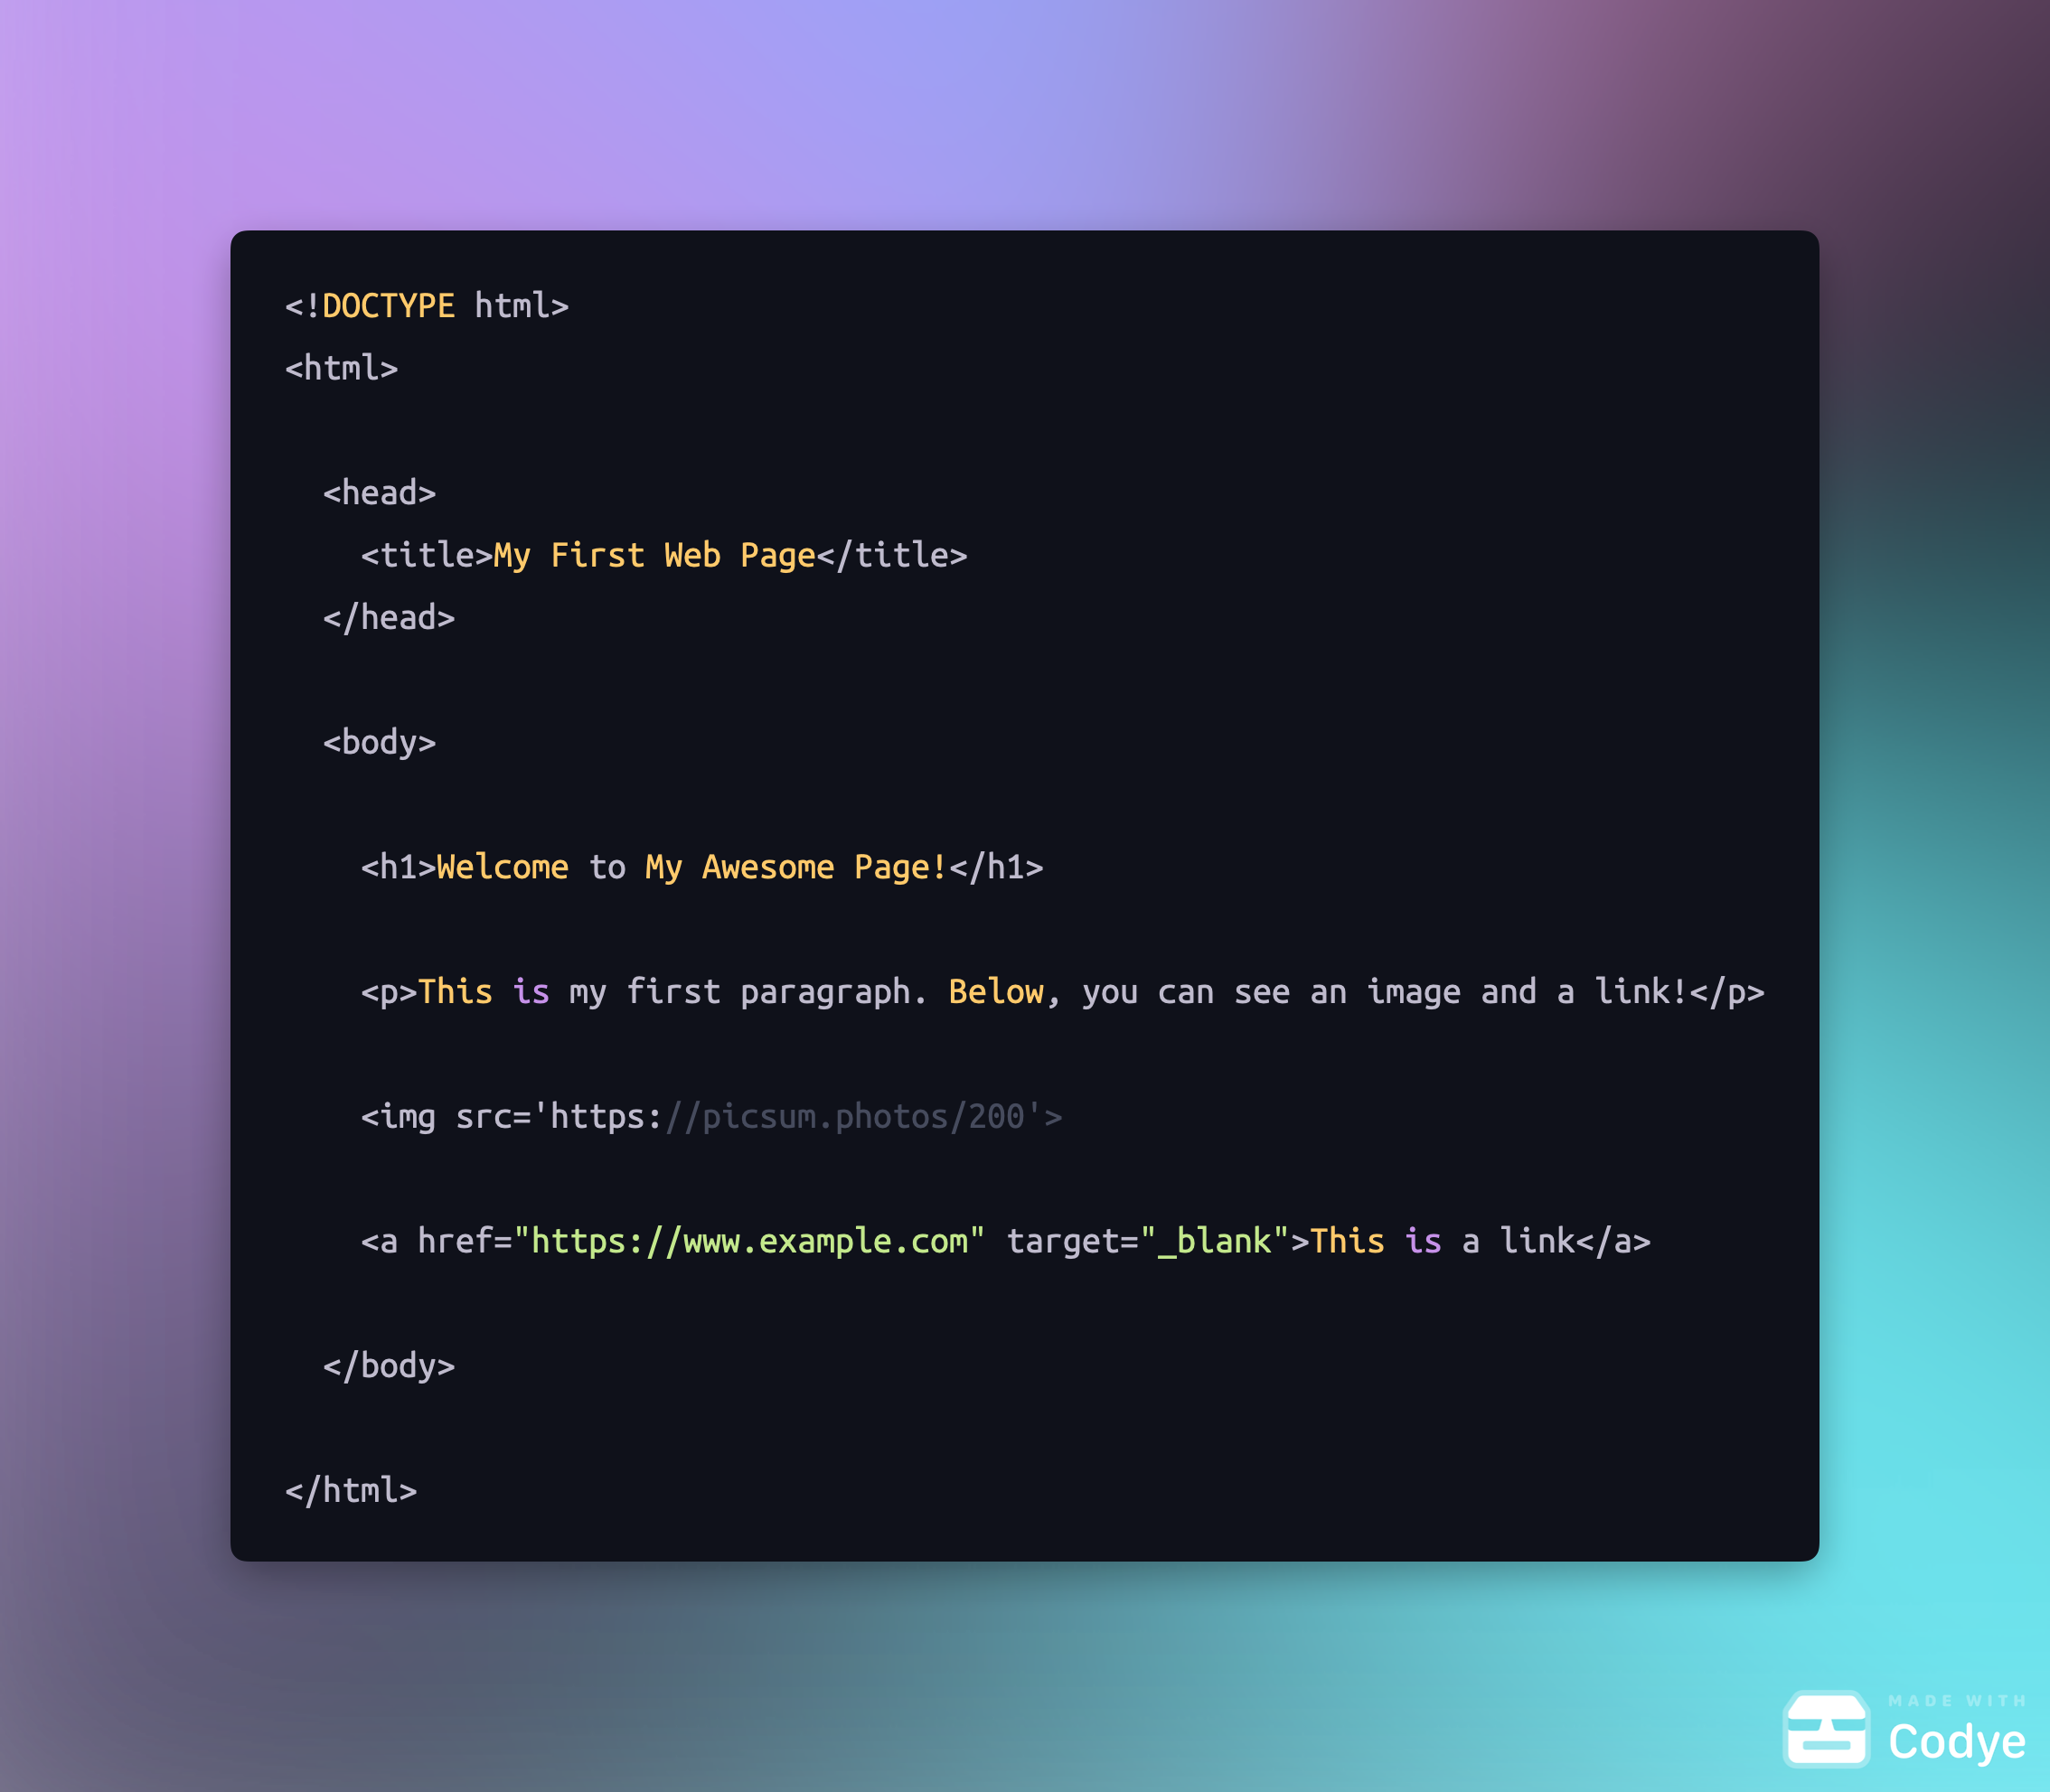
(Note: I've used a placeholder link for the image source. You can find an image online and paste its address there to see it work!)
Your Turn! A "Try It Yourself" Challenge
Now that you've written your own code, go to one of your favorite websites. Right-click anywhere on the page and select 'View Page Source' or 'Inspect'. Can you spot an <img> tag or an <a> tag? See if you can identify their attributes!
You’re Ready to Build!
You’ve had a huge lesson today! You not only set up your first coding environment but also learned how to use attributes to bring your HTML to life with links and images.
Now that you have a workshop, it’s time to get comfortable in it. In our next post, we will open up our code editor again, create our very first official index.html file from scratch, and get it ready for its best friend, CSS.
Thanks for reading!
Happy coding, -Elysa, The Vanilla Developer